
Building a Sketchbook Habit
Ten minutes a day with a pencil and a small sketchbook can transform the way you see the world. Here’s how to make sketching a joyful daily ritual.
The secret to drawing better isn’t talent. It’s simply drawing often. A sketchbook habit makes that easy and enjoyable.
Keep it simple: Choose a small sketchbook that fits in your bag, and a single pencil or pen. When supplies are easy to carry, you’ll draw more.
Ideas to get started:
Draw your morning cup. Your coffee or tea mug is always there and makes a wonderful daily subject.
Set a timer. Give yourself five or ten minutes. Short sessions keep the pressure low.
Draw the same object for a week. You’ll be surprised how much more you notice each day.
Sketch while you wait. Draw at a café, in the car line, or while dinner simmers.
Don’t tear out pages. The imperfect sketches are part of the story and show how far you’ve come.
Date each page, and in a few months, flip back through to see your progress.
[Add a few pages from your own sketchbook]
[Invite readers to share their sketches with you]
Pair it with
Sketch your ingredients while reading Salt, Fat, Acid, Heat: The Cookbook That Teaches You to Cook.
Sketch the knots and loops from A Simple Macramé Wall Hanging, a lovely study in pattern and line.

Painting a Simple Fruit Still Life
A couple of pears and an apple on a cloth make the perfect first still life. Learn how to see light and shadow, one simple step at a time.
Still life painting is one of the best ways to train your eye, and fruit is a wonderful, forgiving subject. This works with acrylics or oils.
Set up: Arrange two or three pieces of fruit on a plain cloth near a window or a single lamp, so the light comes from one side. That gives you clear highlights and shadows.
Paint in four steps:
Sketch: Lightly outline the basic shapes with a thin brush and diluted paint. Think circles and ovals, not details.
Block in shadows: Paint the darkest areas first, including the shadow side of each fruit and the shadows they cast on the cloth.
Add middle tones: Fill in the main color of each fruit and the background, letting the edges blend.
Finish with highlights: Add a few touches of your lightest color where the light hits most directly.
Squint at your setup often. It helps you see big shapes of light and dark instead of fussy details.
[Add a photo of your setup alongside your finished painting]
[Note whether you used acrylics or oils, and your favorite palette colors]
Pair it with
Reward your finished painting with Pinot Noir: The Gentle Red for Salmon and Mushrooms.
Paint the blooms from A Dried-Flower Wreath for Every Season next.
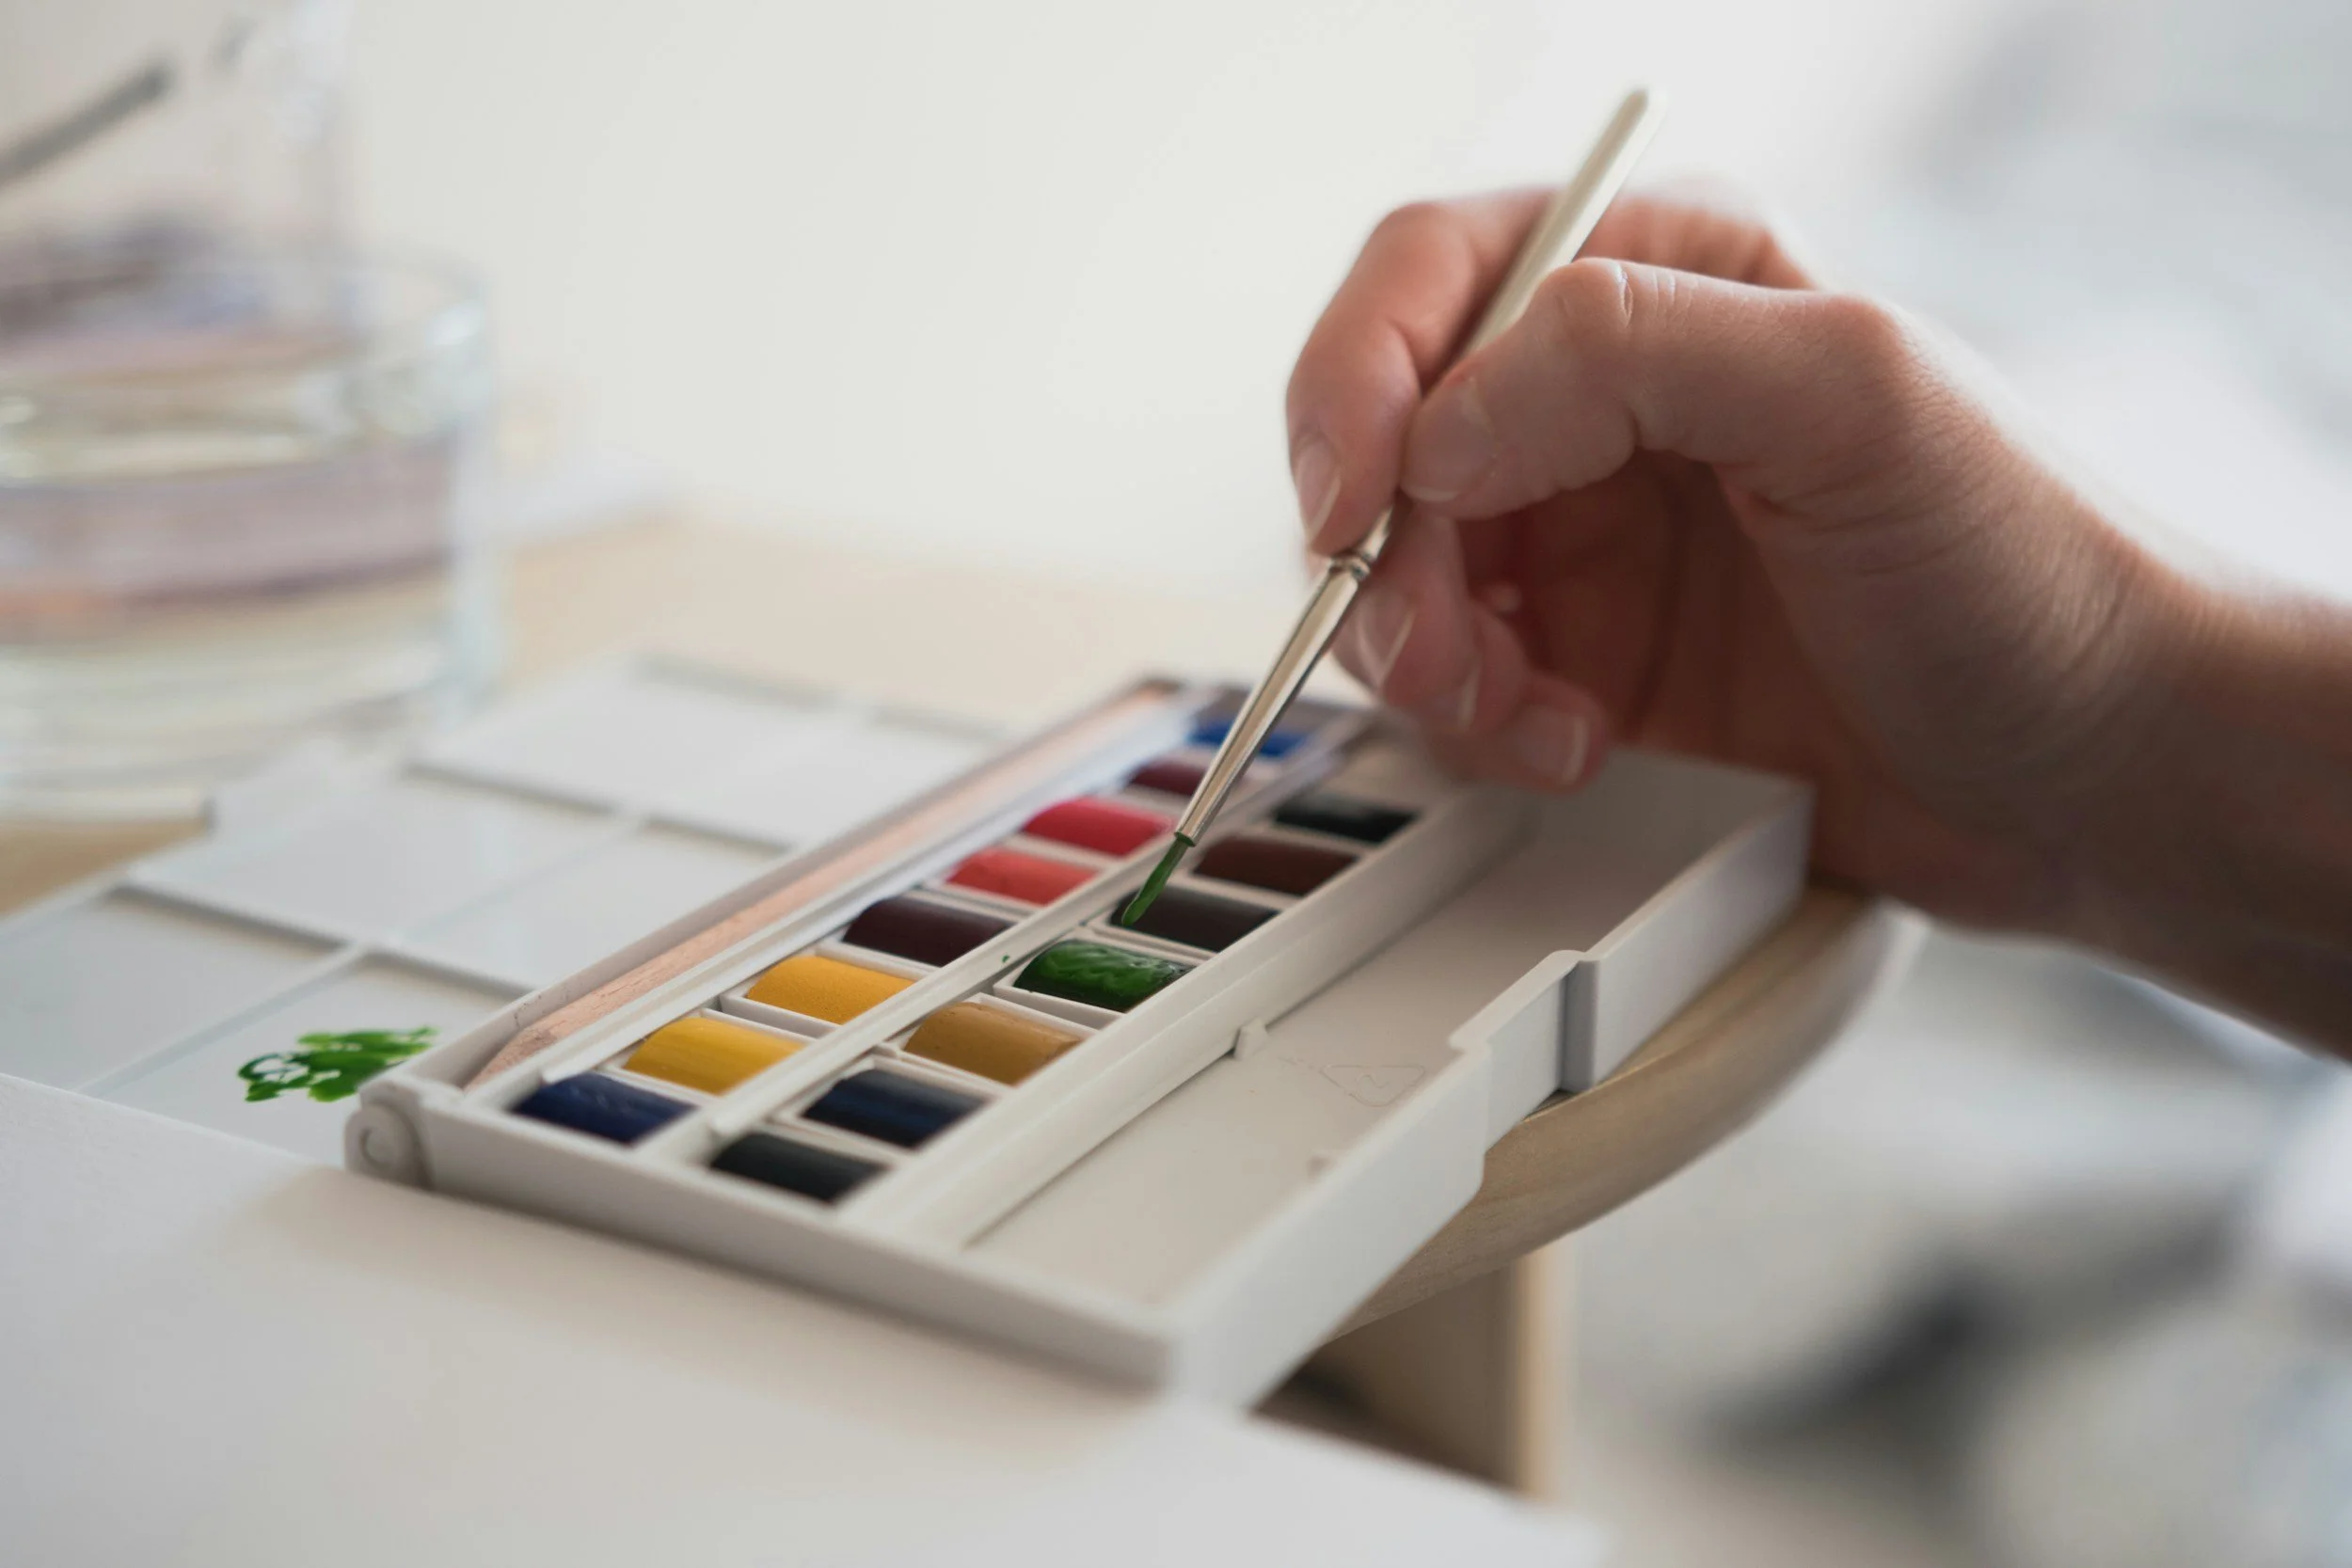
Watercolor Basics for Beginners
All you need to begin is a small paint set, two brushes, and a little patience with water. Here are the first three techniques every watercolorist learns.
Watercolor has a reputation for being tricky, but it’s really about learning to let the water do some of the work.
To start, you’ll need: a student-grade pan set, a size 8 round brush and a small detail brush, 140 lb cold-press watercolor paper, two jars of water (one for rinsing, one for clean water), and a paper towel.
Three techniques to practice:
Flat wash: Load your brush with plenty of diluted paint and pull even, overlapping strokes across the paper for a smooth, uniform color.
Graded wash: Start with strong color at the top and add a little more water with each stroke, so the color fades softly toward the bottom.
Wet-on-wet: Brush clean water onto the paper first, then touch in color and watch it bloom and blend on its own.
Fill a page with each one. Don’t aim for a finished painting yet. Just enjoy watching how the paint moves.
[Add a link to your demo video]
[Share a photo of your very first practice page]
Pair it with
Paint a scene from Little Women: A Cozy Classic Worth Revisiting.
Sip Sauvignon Blanc: Summer in a Glass between washes.